By Ashley Watson
•
September 27, 2021
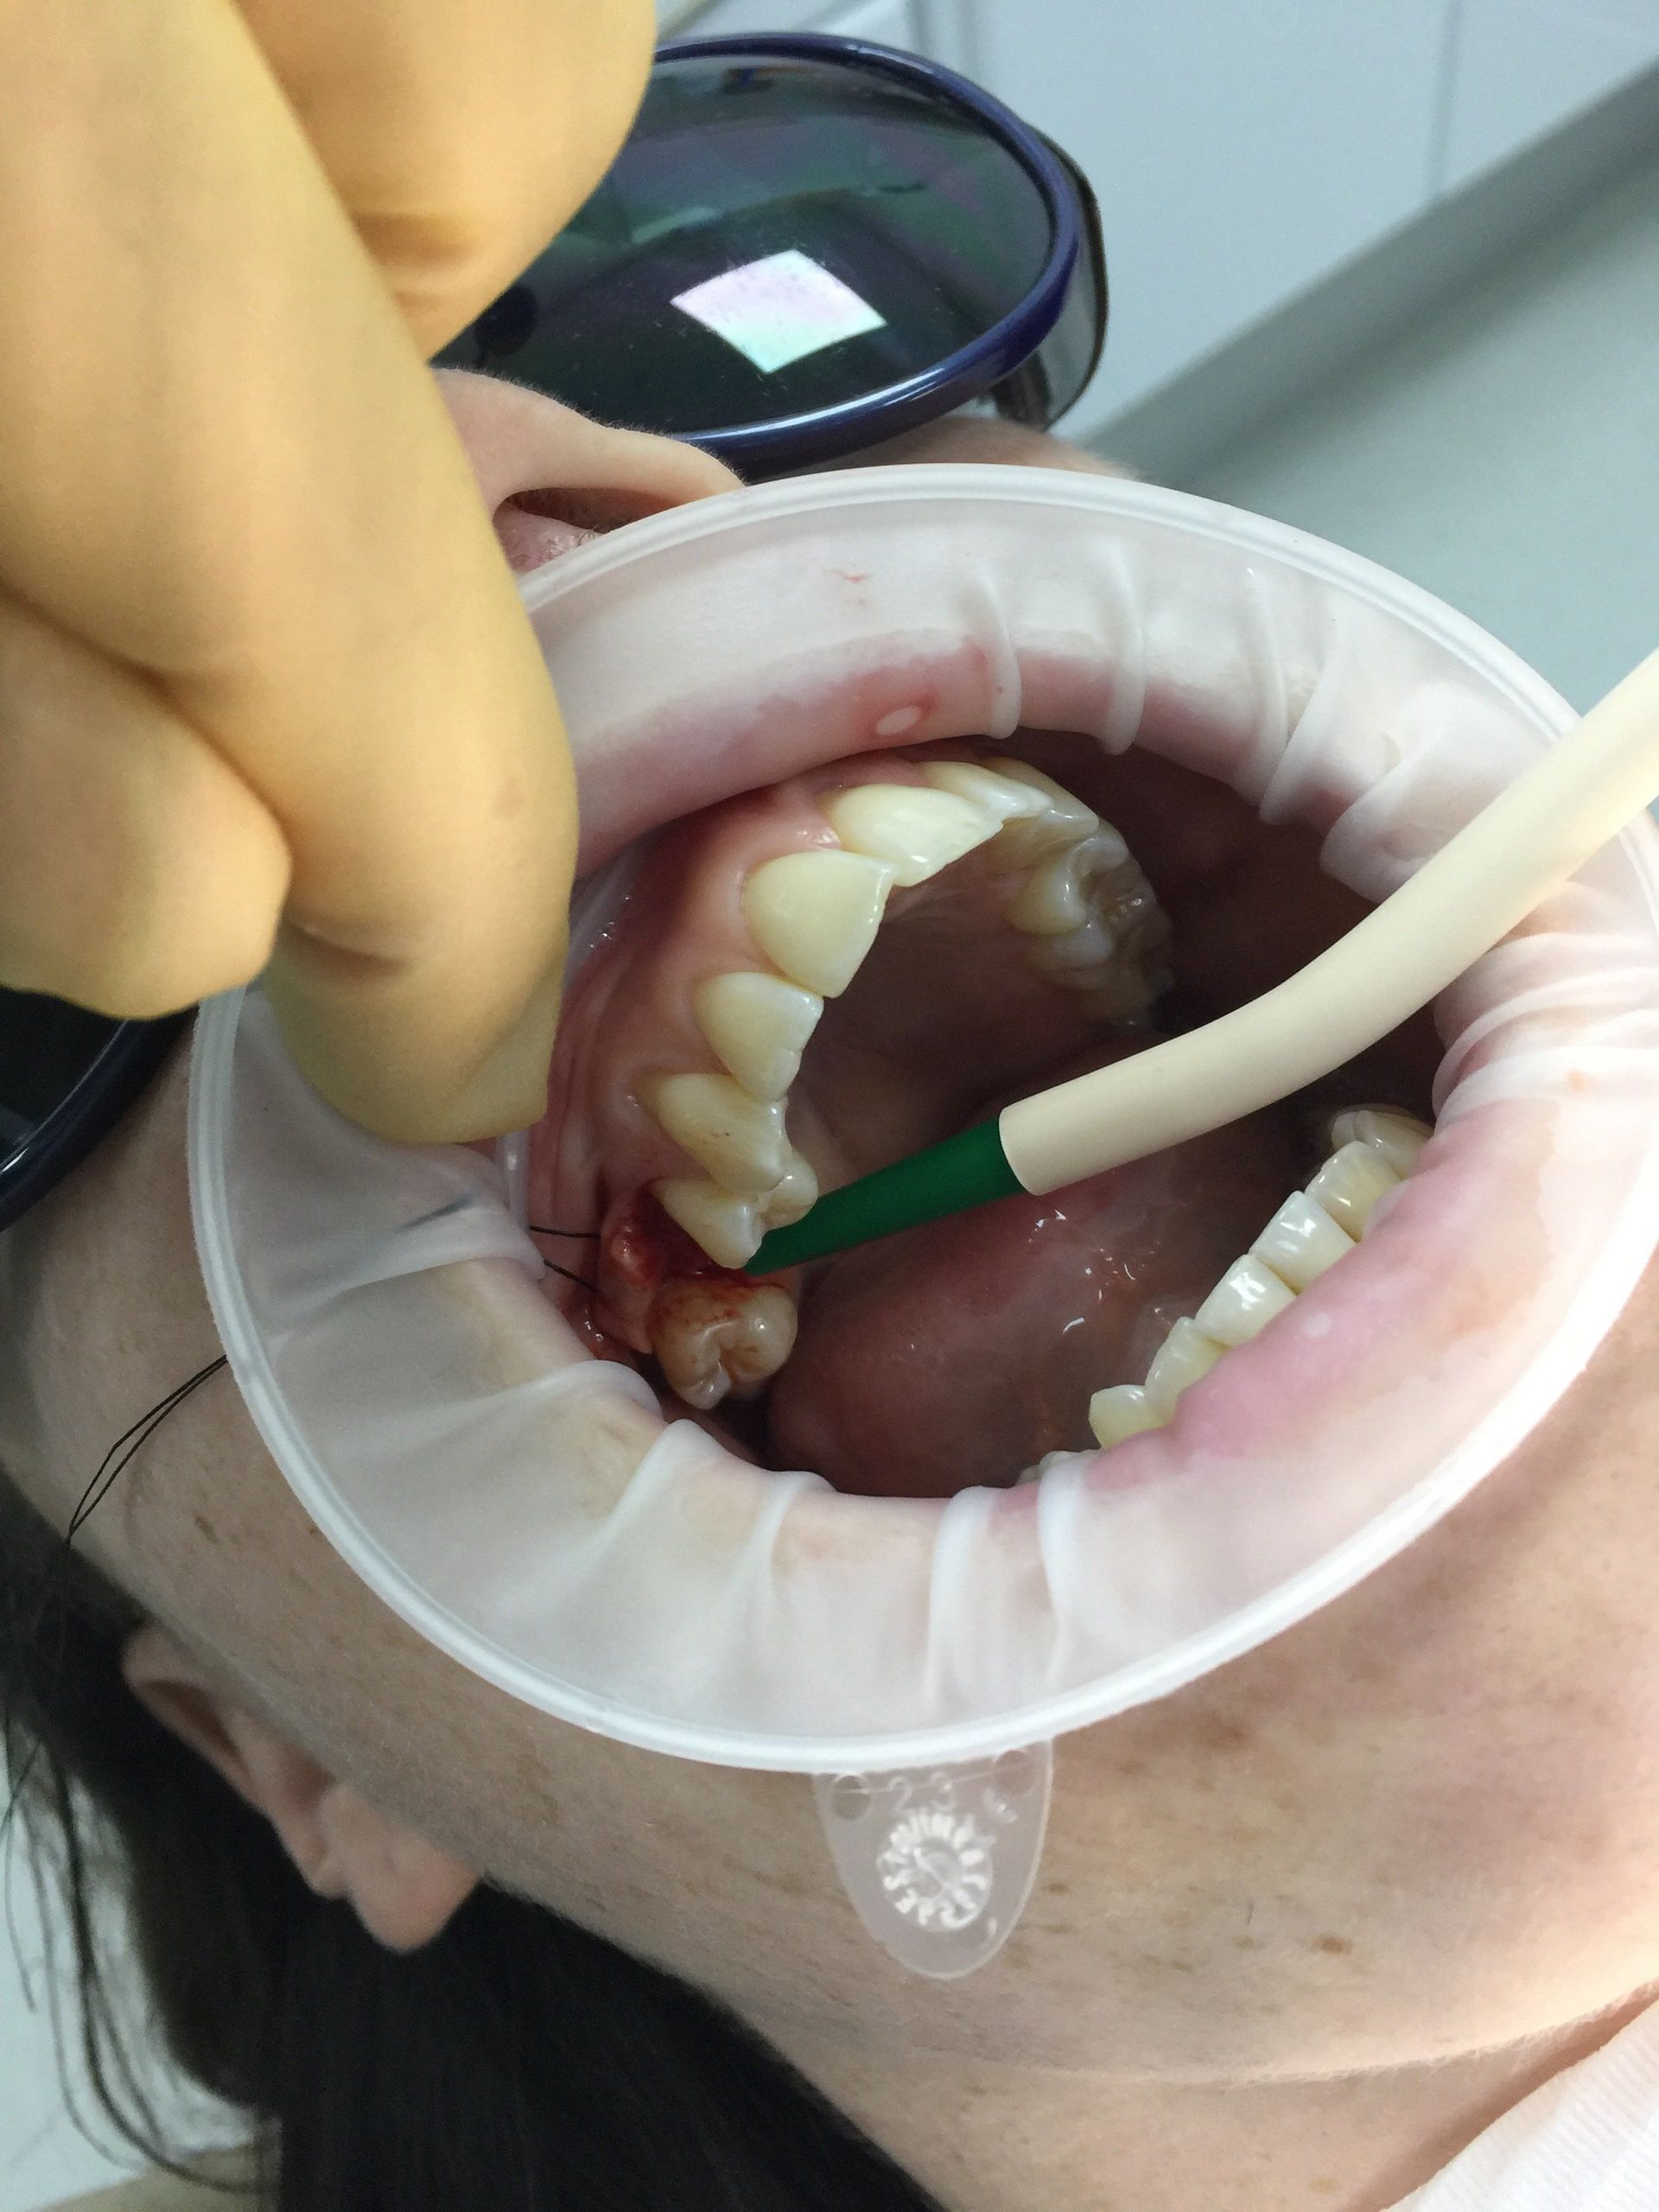
There are plenty of things you can do without power, and I don’t mean just handing out antibiotics because the guidelines have been relaxed to meet the need of the current government failings! My trip to Ghana with 30 undergraduates taught me this. Prepare yourself for action: 1. Buy a head torch and a really good hand torch that your nurse can hold 2. Stock up on cotton swabs 3. Make sure you have a go to temporary filling material that is sedative where possible 4. Don’t back yourself into any corners you can’t retreat from When your dental unit stops working the most annoying thing to fail is not the chair or the handpiece, its not even the suction, because even if you get the last wheeze of air from your compressor, if you can’t see what you are doing it is useless. I found that a head-torch or better still your loupes with a light are a dentist’s best friend in these situations. Because head torches were designed for making a cup of tea in a tent, if your nurse can hold a good quality hand torch as well this helps. Moisture control need not be an issue if you have enough sterile swabs and cotton rolls and you are a master in the art without suction. Saliva is easily soaked up or spat into a spittoon and in the worst scenario where a patient is bleeding, pressure and a reassuring manner can slow even the most persistent sites. It’s unlikely that you are going to be worrying about keeping patients waiting so you have all the time in the world to look after the patient in the chair. Whenever you work, you will have an end goal in mind, but remember your training and don’t cut away all your options too early in the preparation. It’s much easier to put on a temporary crown with two interproximal slices rather than just the occlusal reduction, so rethink your protocols, and build in some provision for temporisation at every stage. Even if you are in the middle of an extraction you don’t have to finish if you have an emergency power outage. I often think dentists make a mistake spending hours trying to find a root tip or chasing a brittle, dilacerated monster. If you give up after a maximum of 20 minutes, the patient rarely gets as much pain healing if you leave them alone, than if you successfully retrieved the root. After six weeks the gum would have healed over so a grateful surgeon can go in retrieve the last bit and will have some tissue to raise a flap and cover it all up again afterwards. So, in summary, when an extraction doesn’t go your way; drain any infection, remove all the irritating sharp supragingival dentine and then give up! I have had to escort a patient from the chair midway through an implant procedure and dump them on the gilded streets of London because of a fire alarm and evacuation, but thanks to a neat flap and plenty of swabs this wasn’t a problem. Keeping calm in the weirdest situations can almost be amusing for you and the patients. The patient in the chair will appreciate that you are doing your best in difficult times, and the patients waiting will understand as long as they are kept informed. The most important thing is that you have a plan which will keep you calm and the patients will feel reassured they are in the right place. Don’t be too quick to send everyone home either, you’ll be surprised how much you can do for someone in pain even without power, and it won’t be long before the power comes back on!
